BRIEF: "Become A Visual Magpie"
We want you to become visual magpies and search out old & unusual materials/ephemera. Use your free time to collect/acquire/buy or borrow as many examples from the list attached. It is important that you look creatively and make decisions about what you collect. We want you to start getting interested in older ephemera and to begin and to begin to understand its value in creating new pieces of art & design.
(Things you might consider collecting: old books or annuals/board games/old photographs/bits of packaging/children's books/instruction manuals/knitting patterns/LP covers/magazines/sweet wrappers/postcards/stamps/stickers/tickets/different coloured materials or papers/fabrics.)
BRIEF: "A Collection Of Unrelated Things"
This project is about understanding the value of good research and to encourage an appreciation of your collected ephemera/materials. Having spent the last week researching and collecting you should now examine your found and collected items. Deconstruct them and use them as ingredients to create new images, look at the details and think about colour, shape, texture, typography and image.
We require you to produce a series of creative and visually dynamic compositions in your sketchbooks utilising your found and collected items.
BRIEF: Part 2
Using your found and collected materials we now require you to create 2 images for a magazine spread. You should continue to experiment and create visually dynamic images. Reflect on the previous days work in the studio and use this to push your work forward, analyse what is successful and use this information to create your new imagery.
You will be supplied with a template of the magazine spread to mount your images on.
Sunday, 22 January 2012
Monday, 28 November 2011
VisCom: Date Issued: 12.10.11
EXPERIMENTAL TYPEFACE:
You have been provided with a specimen sheet of the typeface of Helvetica Neue Bold
Working with this as a starting point you are required to produce your own typeface.
A complete typeface would include every letter from A - Z.
Initially it may be useful to work on producing 4-5 letters at a time, allowing you to experiment and test out various ideas and working methods. It is important that you remember you are designing a whole typeface so what you do to one letter should be applied to every letter from A - Z.
Possible ways of working include cut and paste, combining different letterforms, defacing, distressing, re-tracing etc. Use the photocopier to enlarge, reduce and overprint.
During the week and weekend we want you to collect other ways of making type to enrich the project.
Your final A-Z should be presented on an A3 sheet and should include the name of your typeface set in your typeface.
You have been provided with a specimen sheet of the typeface of Helvetica Neue Bold
Working with this as a starting point you are required to produce your own typeface.
A complete typeface would include every letter from A - Z.
Initially it may be useful to work on producing 4-5 letters at a time, allowing you to experiment and test out various ideas and working methods. It is important that you remember you are designing a whole typeface so what you do to one letter should be applied to every letter from A - Z.
Possible ways of working include cut and paste, combining different letterforms, defacing, distressing, re-tracing etc. Use the photocopier to enlarge, reduce and overprint.
During the week and weekend we want you to collect other ways of making type to enrich the project.
Your final A-Z should be presented on an A3 sheet and should include the name of your typeface set in your typeface.
![]() |
| I began my exploration of type with my usual techniques to see what difference it would make to the set font. |
![]() |
| Auratype |
![]() |
| Croppedtype |
![]() |
| Junkie |
![]() |
| Keyboard |
![]() |
| Lineartype |
![]() |
| Paperclip Type |
![]() |
| Printtype |
| Here We Go |
![]() |
| Scratchface |
![]() |
| Vivid Type |
Pathway: 2D Contemporary Imaging
BRIEF: SQUARE-ISH STYLE LIFE
The principle of the Durer grid is simple: The grid is placed between the object and the artist. A similar grid is then drawn on the working surface.
The grid provides the following:
1. A clear, manageable guide to proportions and foreshortening.
2. A subject viewed in segments that can be perceived in isolation from each other.
3. The potential to easily transform scale, perspective or proportions by altering the dimensions of either of the grids.
Select one of the pre-fabricated framed grids to work with. Select a series of studio objects and surfaces to construct a tabletop still-life. You may wish to do this in groups, arranging your frames around a central point. In your still life, try to include a range of tones, scale, texture, pattern and surface. Aim to create an arrangement which will provide interest in each of the squares in your grid.
You will be working primarily in black and white, so you do not need to consider the colour of the objects you use, but you will need to consider the tonal values.
The principle of the Durer grid is simple: The grid is placed between the object and the artist. A similar grid is then drawn on the working surface.
The grid provides the following:
1. A clear, manageable guide to proportions and foreshortening.
2. A subject viewed in segments that can be perceived in isolation from each other.
3. The potential to easily transform scale, perspective or proportions by altering the dimensions of either of the grids.
Select one of the pre-fabricated framed grids to work with. Select a series of studio objects and surfaces to construct a tabletop still-life. You may wish to do this in groups, arranging your frames around a central point. In your still life, try to include a range of tones, scale, texture, pattern and surface. Aim to create an arrangement which will provide interest in each of the squares in your grid.
You will be working primarily in black and white, so you do not need to consider the colour of the objects you use, but you will need to consider the tonal values.
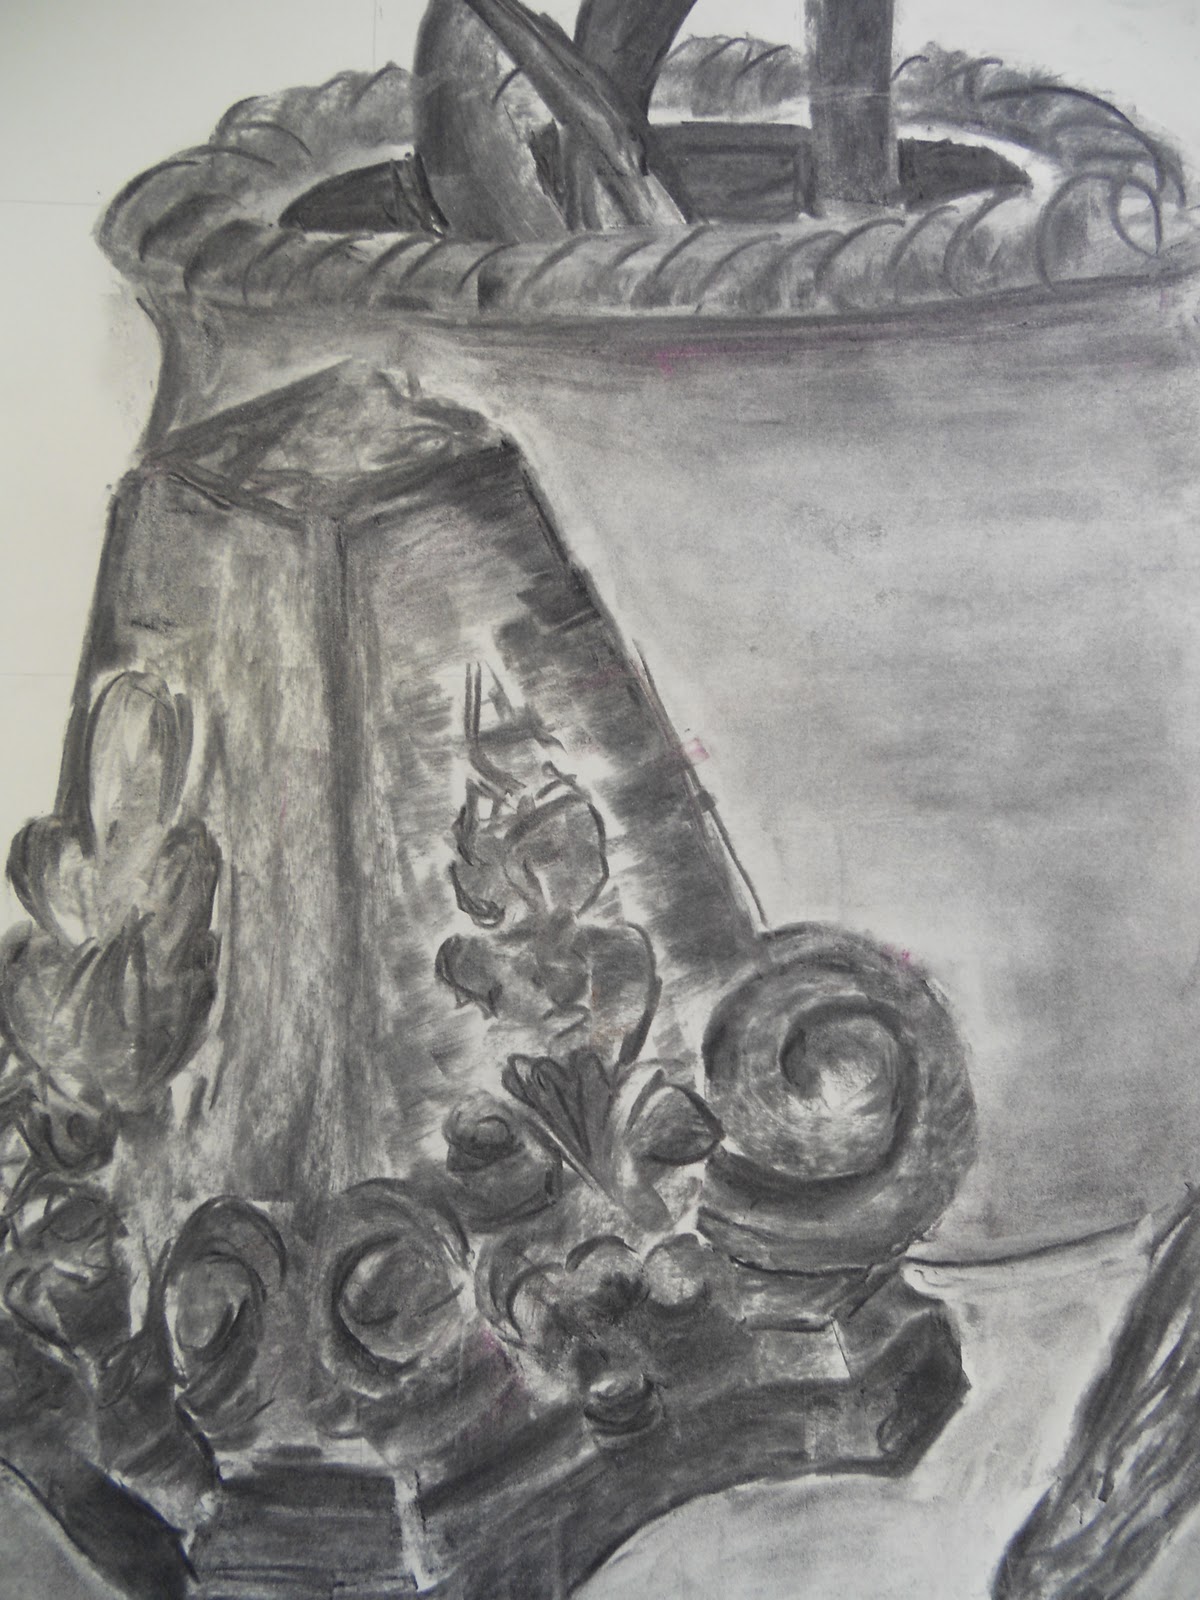
| I am really pleased with the outcome of my drawing as I found the technique difficult to work with. |
Pathway: 2D Contemporary Imaging
MORNING BRIEF: You will be given a transparent box with a grid in which to place a miniature object. Produce a series of scaled up drawings of your object onto squared paper, using the printed squares as a system of measurement.
You should aim to produce a minimum of 10 drawings, varying pace approach and media.
You may swap objects.
You should aim to produce a minimum of 10 drawings, varying pace approach and media.
You may swap objects.
| Drawing from the grids on the transparent box proved to be quite difficult as it was difficult to follow the grid exactly. |
| Here I used larger squared reference in order to increase my object from the original size by double. I really struggled to work with these techniques. |
AFTERNOON BRIEF:
Select one miniature object to work from to produce a sustained drawing in the afternoon. Scale up your object transferring 1cm square paper on the box to 18cm square paper. You do not need to draw out a grid; you will be given separate 18cm square sheets of paper to work on. You must complete and display your composite drawing by the end of the session and evaluate your performance.
| Using the 18cm drawings I am able to use close ups of the chosen objects and rearrange them to make a completely different and abstract view of the original object. |
Sunday, 27 November 2011
Pathway: CMTF
PRECIOUS FRAGMENTS:
This workshop draws attention to the fragmented evidence of overlooked ephemera. Working in the immediate environment, collect a series of fragments (minimum 20) by using the sticky side of tape.
The collected fragments will be organised, annotated and arranged as is appropriate.
Small compositions may then be projected using an OHP or another light source.
Further imagery can be generated by drawing, photocopying and manipulating surfaces. Outcomes may be 2D or 3D.
| I observed and recorded a set of drawings of my projected images which turned out quite successful. |
| Using positive and negative spaces we are able to pick up on otherwise unseen aspects of the image created. |
Pathway: CMTF
Consider drawings made on Day 1 and identify compositions that you find interesting. Generate further imagery using a photocopier and transfer ideas onto acetate. Explore the potential of your images using a light source. All surfaces may be manipulated as you develop ideas. Ideas may be 2D or 3D.
Observe images made previously, using a range of surfaces translate into marks made by punching, piercing, cutting etc. Use appropriate tools for the purpose : needlesm, bodkins, nails, joss sticks etc. Consider layering and manipulating surfaces further. Apply a light source.
Subscribe to:
Posts (Atom)